|
|
|
Photo Editing
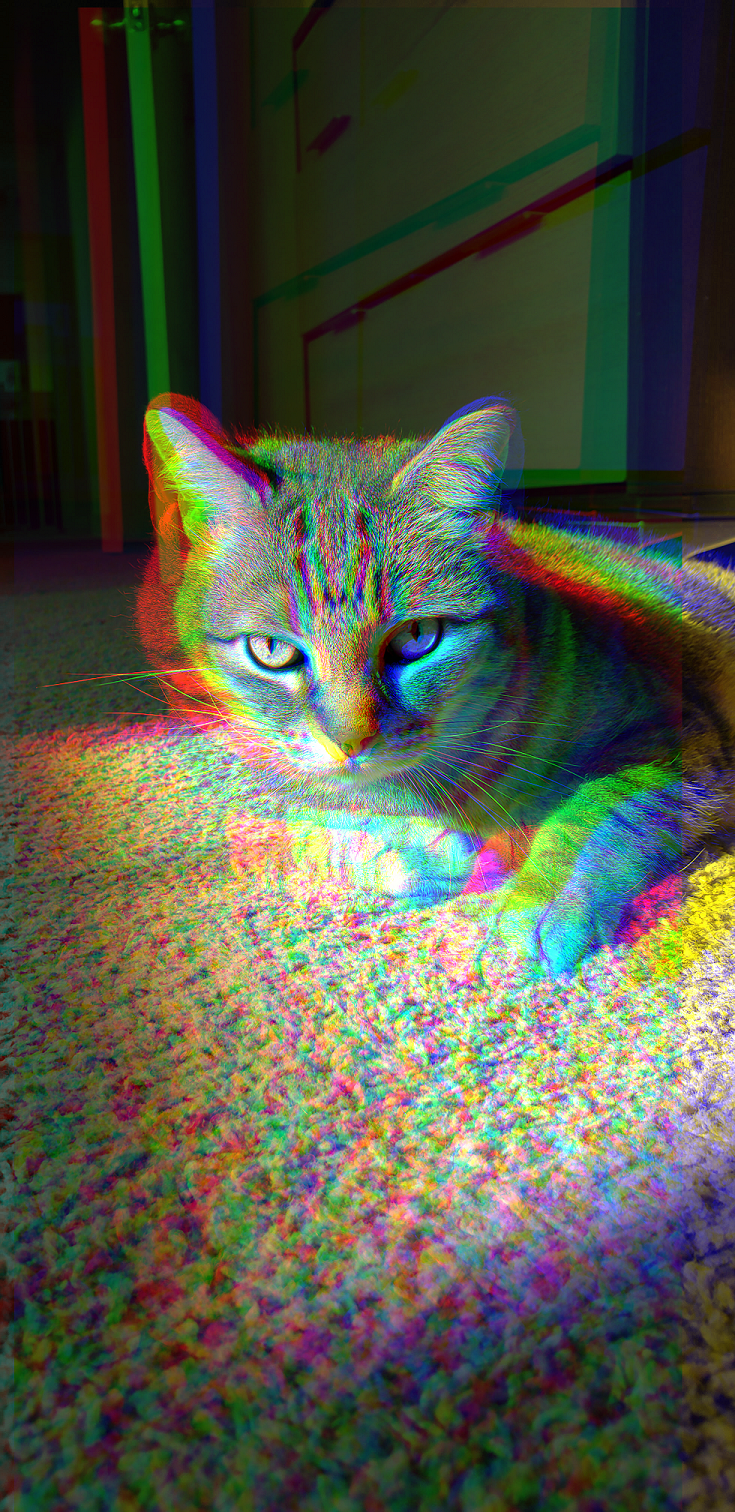
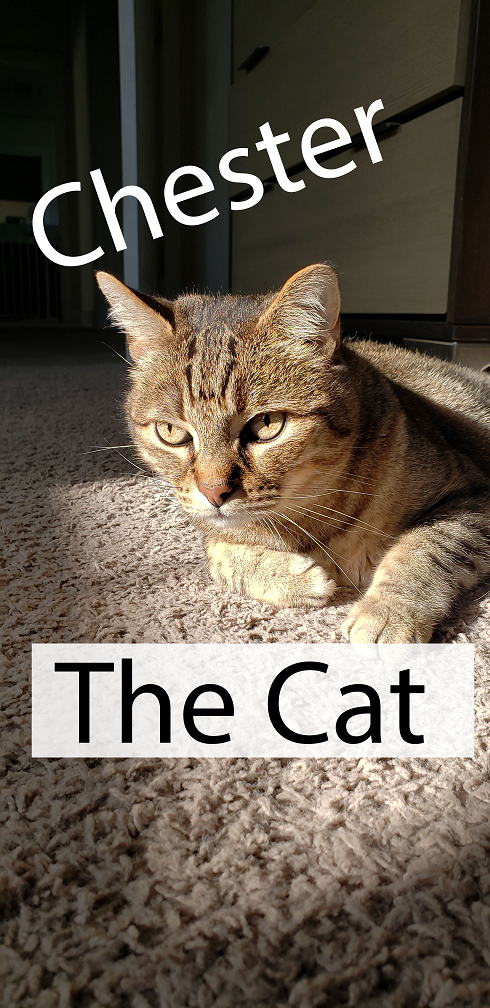
For this module, I used Adobe Photoshop. It was a nice refresher - I've not had to use it for a while, but have used it in the past. I usually use Photoshop or Illustrator for designs that I do. I used it extensively in my work for Salinas Valley Pride Celebrations to make almost all of our printed advertising materials in conjunction with a few other folks (who are much better at the design than I am!). I like illustrator for the ability to turn your ideas into vectors which is great for printing at any size. I also love playing with the channels - which is how I got that layered photo of chester. You can come up with some really unique photos using a tripod- anythign that wasn't present in the previous photo will be in a different color while anything that stayed constant will keep it's original color. Chester/myself moved a bit much, but given more time I'd love to take a photo of him and the sun moving.
Photoshop has a steep learning curve, but it's so powerful once you get the hang of it. I've been using it since college - I took a nature photography course with Dr. Moore during my time at CSUMB. I also used with when I was working with ARCGIS to work with map layers. Between Illustrator, Photoshop, and the rest of the creative suite- you can really get a lot done. All the images that I edited were photos that I had taken. This took me around an hour to complete - that included choosing the photos to use and editing them.
Photoshop has a steep learning curve, but it's so powerful once you get the hang of it. I've been using it since college - I took a nature photography course with Dr. Moore during my time at CSUMB. I also used with when I was working with ARCGIS to work with map layers. Between Illustrator, Photoshop, and the rest of the creative suite- you can really get a lot done. All the images that I edited were photos that I had taken. This took me around an hour to complete - that included choosing the photos to use and editing them.
